Plants
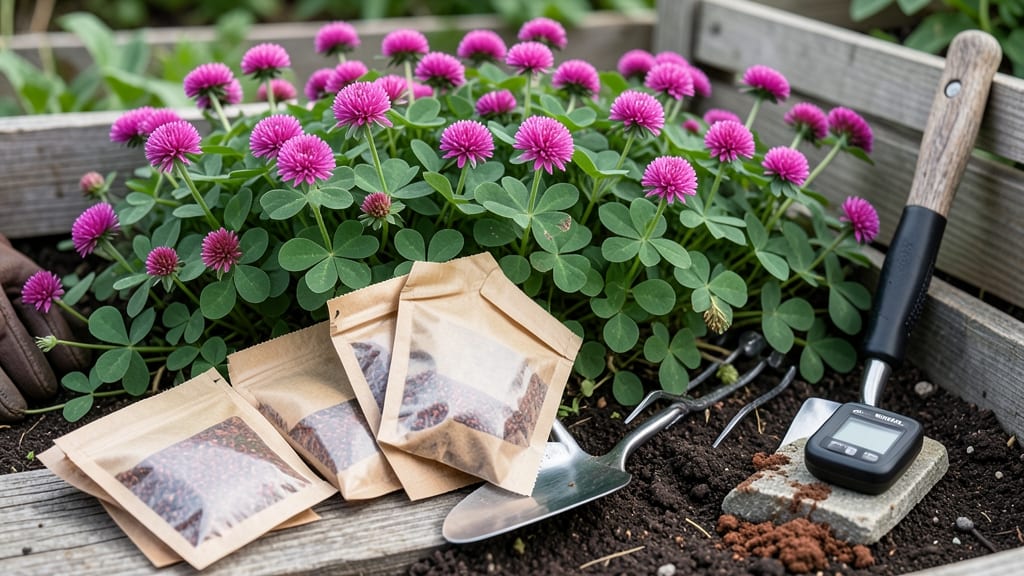
Planting Crimson Clover 🌸 at the right time in Texas isn't just about luck—it's the difference between a thriving cover crop and one that struggles to take root.
If you've ever wondered when to plant crimson clover in Texas, the answer lies in those crisp fall months when summer's heat finally loosens its grip.
Fall planting gives Crimson Clover the perfect head start, allowing its roots to establish before winter sets in. This is especially true in Texas, where temperatures can swing dramatically between North and South regions.
Whether you're in the cooler 8a zones or the warmer 10b areas, timing your planting between September and November ensures stronger growth and better resilience against frost.
Why does timing matter so much? Because Crimson Clover needs 60-70°F soil temperatures to germinate properly—too hot or too cold, and you risk weak seedlings. I’ll show you exactly how to read your local climate cues and adjust your planting schedule for maximum success.
From preparing your soil to avoiding common pitfalls, this guide will walk you through every step to get your Crimson Clover off to the best possible start. Let’s make sure your fall planting pays off big time next year.
Optimal fall planting windows for crimson clover in Texas regions
Timing your crimson clover planting in Texas isn't just about the calendar—it's about soil temperatures and regional frost dates. In North Texas, cooler nights arrive earlier than in South Texas, meaning your planting window shifts dramatically.
The goal? Seed germination at 60-70°F soil temps and root establishment before hard freezes hit.
For Central Texas, think of September through early October as your sweet spot. This gives seeds time to sprout before first frost (typically mid-November) while avoiding summer's brutal heat.
In North Texas, you've got until late October, while South Texas gardeners can push planting into early November thanks to milder winters.
Here's the key: Late fall plantings risk stunted growth from winter cold, but early fall plantings may struggle with summer heat if sown too soon. The perfect balance means starting when daytime temps dip below 90°F but before nights consistently drop below 50°F.
🌸
In North Texas, where winters can be harsh, aim to have your crimson clover established by October 20th at the latest. This gives roots 6-8 weeks to develop before hard freezes (typically mid-November) slow growth. Use a soil thermometer to confirm temps are consistently between 60-70°F before sowing.
For Central Texas gardeners, the window is slightly wider but still critical. Planting after October 10th risks poor germination as daytime highs drop below 80°F. The Edwards Plateau region can handle slightly later plantings, but avoid pushing past October 15th unless you're using cold-tolerant varieties.
South Texas offers the most flexibility, but don't get complacent. While you can plant as late as early November, seeds sown after October 20th may struggle to establish before December freezes (common in Zone 9a). Prioritize areas with shelter from cold winds if extending your planting window.
Pro tip: Check the National Weather Service for your local first frost dates and count backward 6-8 weeks to determine your ideal planting window. In East Texas, this might mean starting in early September, while West Texas gardeners can wait until mid-September.
Remember, crimson clover thrives with 6-8 hours of sunlight daily, so choose planting dates when your site receives full sun exposure. If you're planting in shaded areas, opt for the earliest possible window to maximize growth before winter.
🌿
Soil and site preparation for fall crimson clover planting
Preparing your Texas soil for crimson clover is the foundation of a thriving cover crop. Unlike many plants, crimson clover thrives in well-drained, slightly acidic soil with a pH between 5.5 and 6.5.
Texas gardeners often deal with alkaline soils, so testing and adjusting your soil pH is critical before planting. Start by collecting soil samples from multiple areas of your garden to get an accurate reading.
Once you’ve tested your soil pH, you may need to amend it. For alkaline soils, sulfur-based amendments work best to lower pH gradually. Work these into the top 6 inches of soil a few weeks before planting to allow time for adjustments.
Avoid quick-fix amendments like vinegar, which can harm beneficial microbes and disrupt soil health in the long run.
- Step 1: Test Soil pH 📋
- Step 2: Adjust pH (if needed) 🌱
- Step 3: Till Soil to 6 Inches 🔧
- Step 4: Add Organic Matter 🌿
- Step 5: Level Seedbed ✂️
After adjusting your soil pH, till the area to a depth of 6 inches to loosen compacted soil and improve aeration. This step is especially important in Texas, where clay soils can become dense.
Mix in 2-3 inches of compost or well-rotted manure to boost organic matter and provide essential nutrients for your crimson clover seeds. Avoid fresh manure, which can burn young seedlings.
Once your soil is prepped, create a fine seedbed by raking the surface to remove large clods and debris. Crimson clover seeds are tiny, so a smooth, level surface ensures even seed-to-soil contact.
Plant seeds at a depth of 1/4 inch—any deeper, and they may struggle to emerge. For best results, use a broadcast spreader to distribute seeds evenly across the prepared area.
Consider companion planting to maximize your cover crop’s benefits. Crimson clover pairs well with winter ryegrass or oats to suppress weeds and improve soil structure. Avoid planting near legumes like peas or beans, which compete for nitrogen.
In Texas, where soil erosion is a concern, planting crimson clover alongside grasses creates a dense, protective ground cover.
Finally, water your newly planted seeds lightly to settle them into the soil. Keep the seedbed consistently moist (not soggy) until germination, which typically occurs within 7-14 days in ideal fall conditions. Mulch lightly with straw to retain moisture and protect young seedlings from Texas’s unpredictable weather patterns.